

Path at Kelvin Walkway in summer sunshine
Welcome to this illustrated guide to the Kelvin Walkway on the north bank of the River Kelvin. It covers the walk from the Belmont Bridge in the heart of the west end to the abandoned railway bridge over the river, which once carried the disused line from Maryhill towards the Botanic Gardens. Kelvin Walkway from Belmont Bridge to disused Railway Bridge
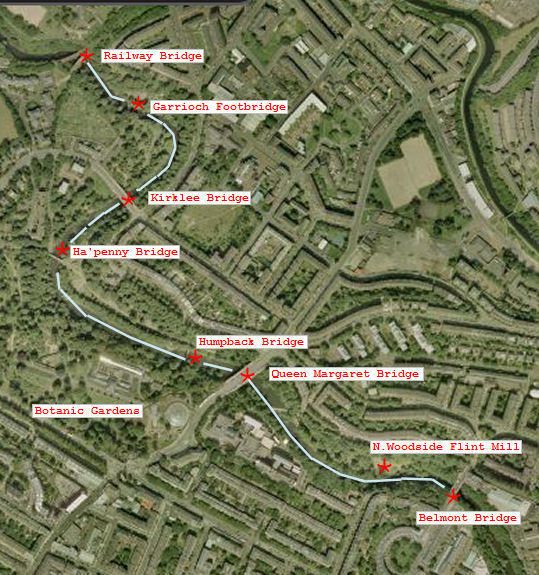
Footbridge, upstream from Belmont Bridge, leading to Kelvin Walkway at North Woodside Flint Mill
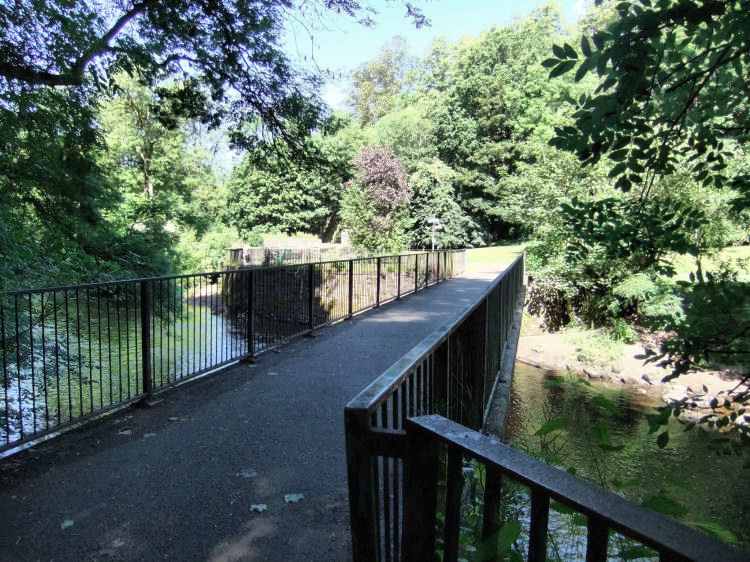
Map of North Woodside Flint Mill from 1858, showing "Mill Lade" channelling water to power the mill
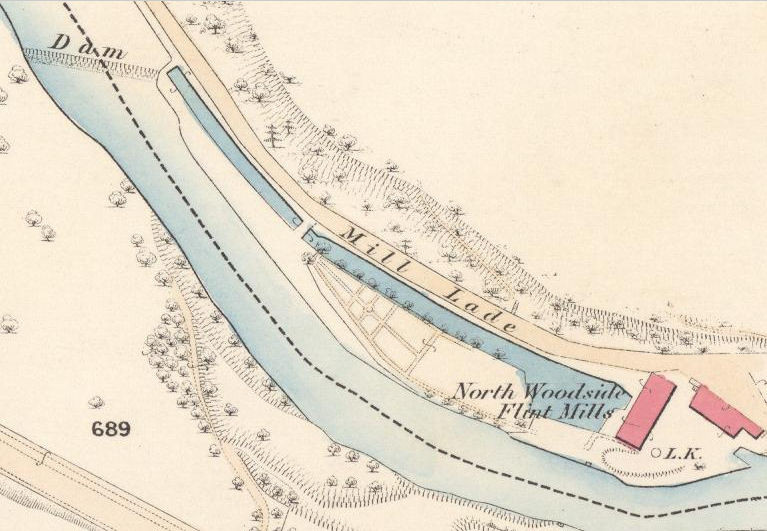
Pencil Sketch of North Woodside Flint Mill
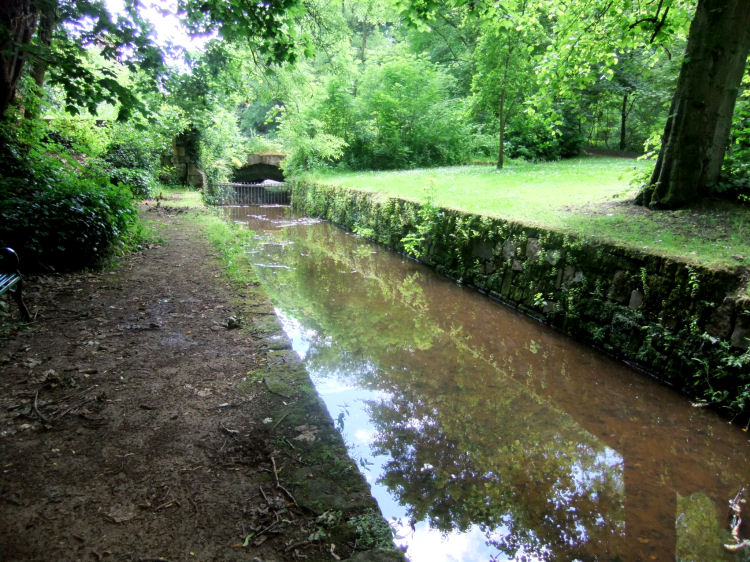
Channel leading to sluice gate at North Woodside Flint Mill
The sluice gate controlled the flow rates of the water being channelled in to drive the millwheels
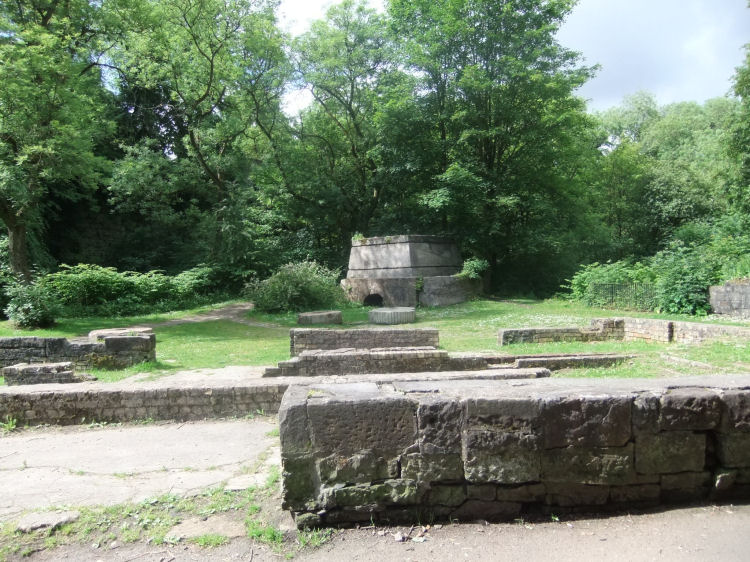
Ruins of North Woodside Flint Mill
Stone grindstone at North Woodside Flint Mill, placed here from another site
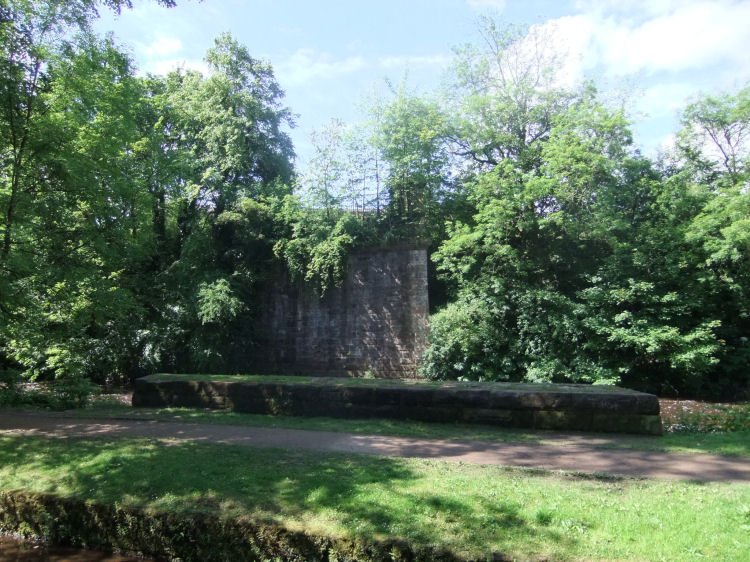
South pier and stunted remains of central pier of original Queen Margaret Bridge, which was dismantled in 1971
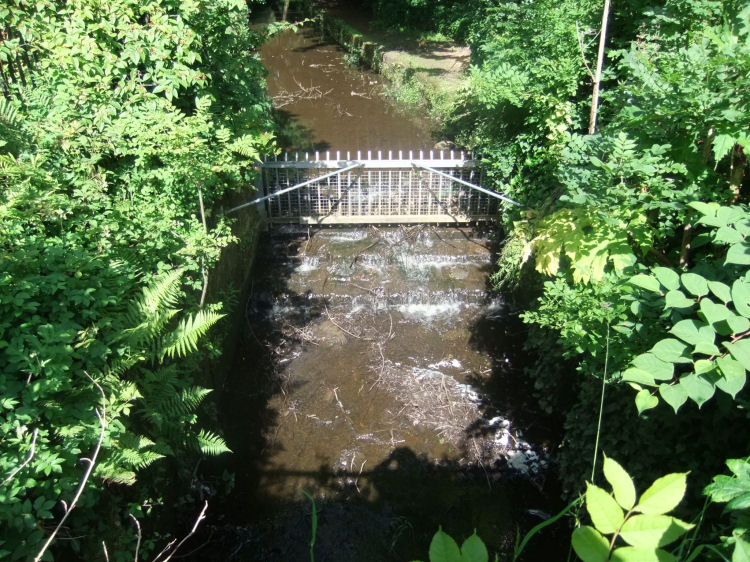
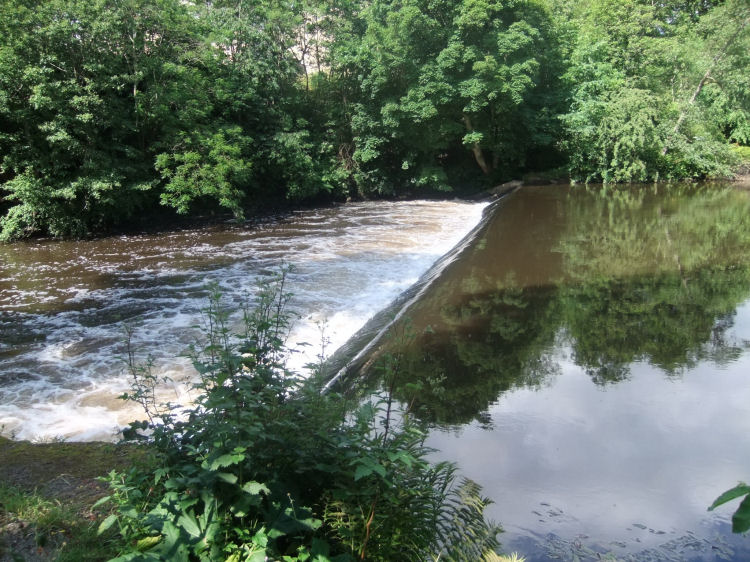
Uprooted tree at weir on River Kelvin, downstream from Queen Margaret Bridge
Reflections on calm water appoaching weir on River Kelvin
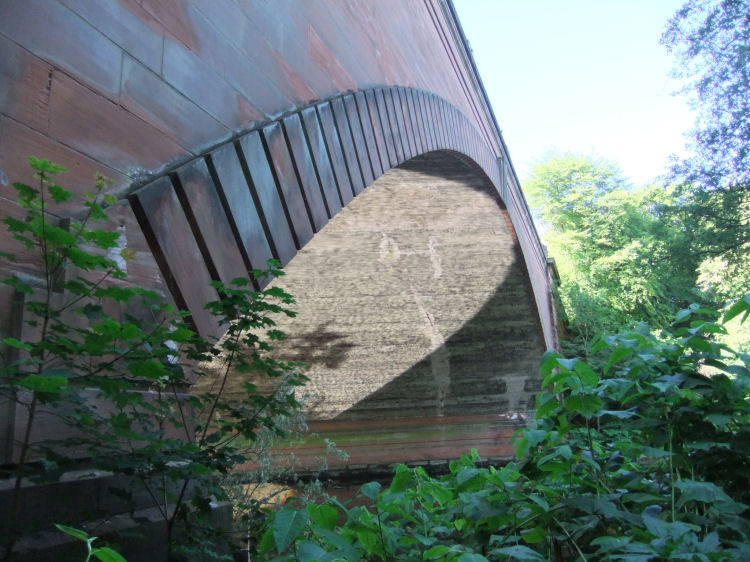
Shadows underneath the Queen Margaret Bridge on the Kelvin Walkway
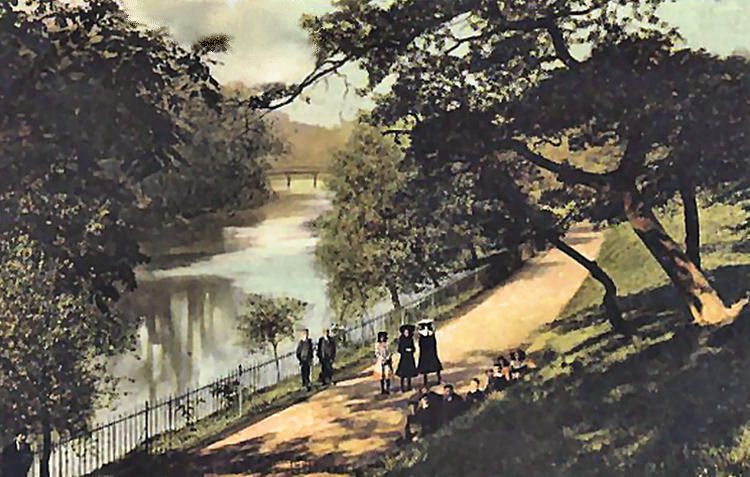
Ramblers on wooded banks of River Kelvin
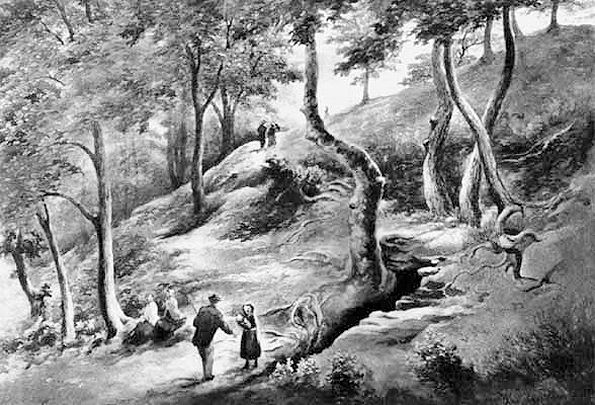
Edwardian view of children walking along banks of River Kelvin
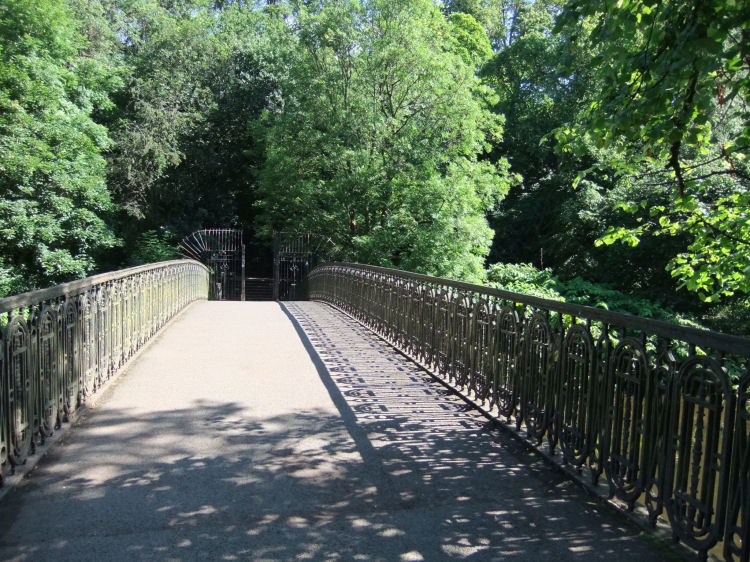
Humpback bridge over River Kelvin
The Kelvin Walkway was the scene of the first ever murder in "Taggart", back in the early eighties. View through ironwork at Humpback Bridge, Kelvin Walkway
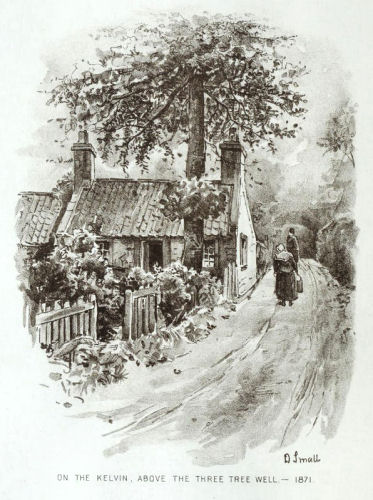
One of the earliest crossings in the vicinity was at the site of the present day Ha’penny Bridge. There was "an old and decrepit foot-bridge" providing access to the Three Tree Well, which was out of use shortly after this engraving was prepared in 1871.
Watercolour of "old and decrepit foot-bridge" at Three Tree Well, 1848
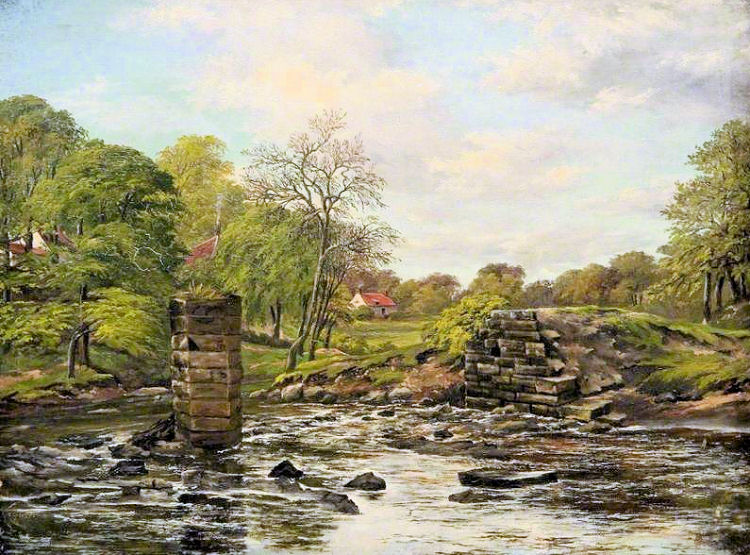
Painting of remains of an unidentified bridge over the Kelvin near the Three Tree Well, c.1880
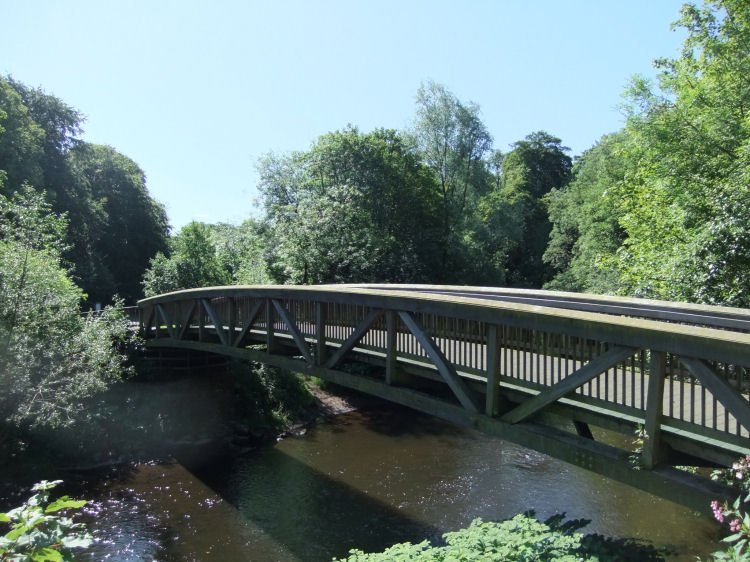
The present day Ha’penny Bridge dates from 2002, when it was erected as a
replacement for the ugly wrought-iron box-girder toll bridge which was washed away by floodwater on 10th December 1994. Ha'penny Bridge, Kelvin Walkway
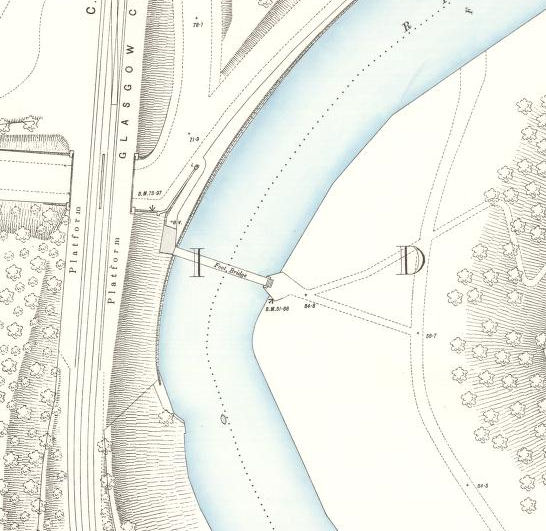
Map from 1894 showing Ha'penny Bridge leading to platforms of Kirklee Station
Kirklee Station lay between Maryhill Central and Botanic Gardens Stations
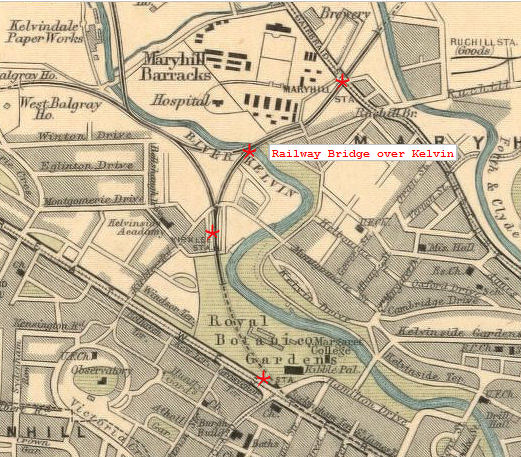
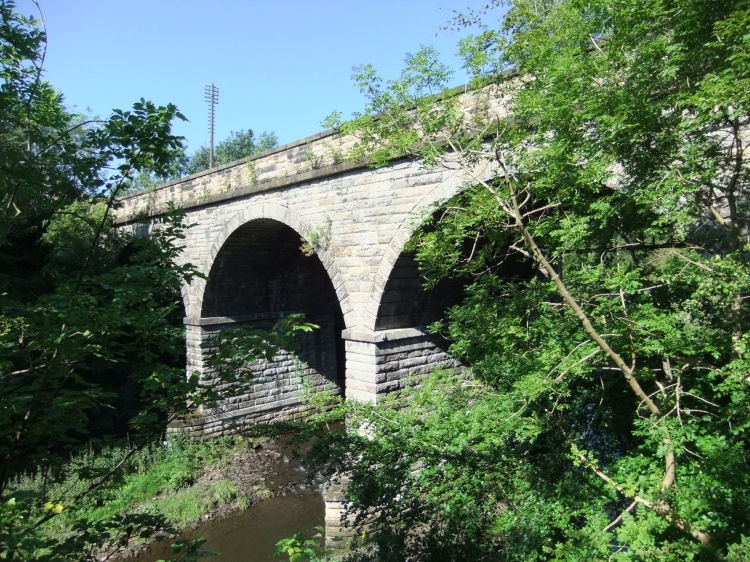
Abandoned railway bridge over River Kelvin carrying line towards Botanic Gardens
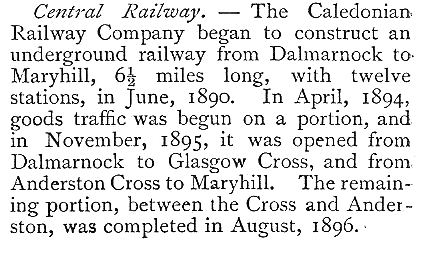
The Glasgow Central Railway had opened from Maryhill in November 1895 and was completed in August 1896
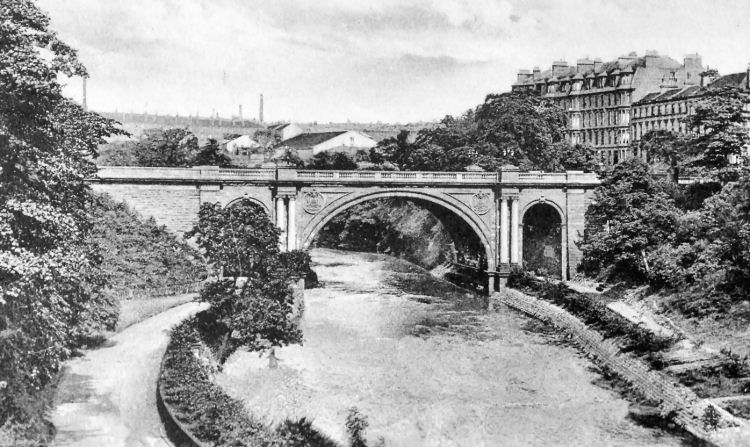
The Kirklee Bridge opened in 1900 following Glasgow's annexation of the district of Kelvinside in 1891. The bridge spanned the river from Clouston Street in North Kelvinside connecting with the developing suburbs to the west.
Kirklee Bridge, 1905
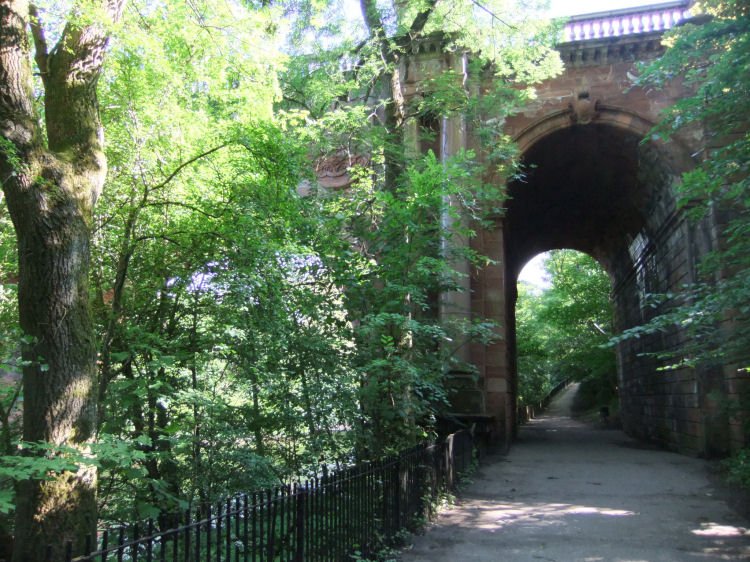
Footpath under the Kirklee Bridge on the Kelvin Walkway
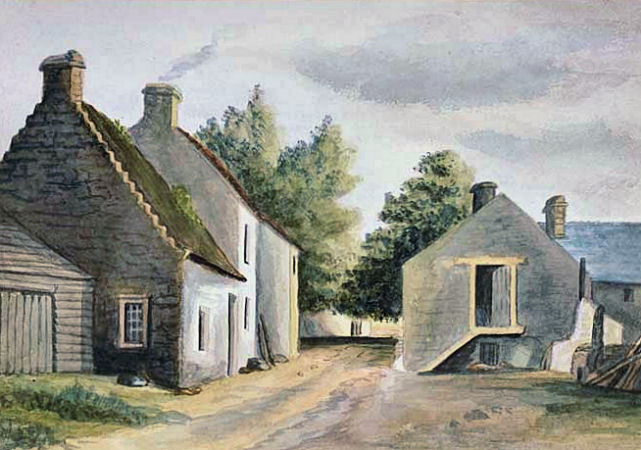
The Garrioch Mill was situated upstream from the North Woodside Flint Mill. It also was originally a grist mill and later a flint mill.
Watercolour of Garrioch Mill, 1848
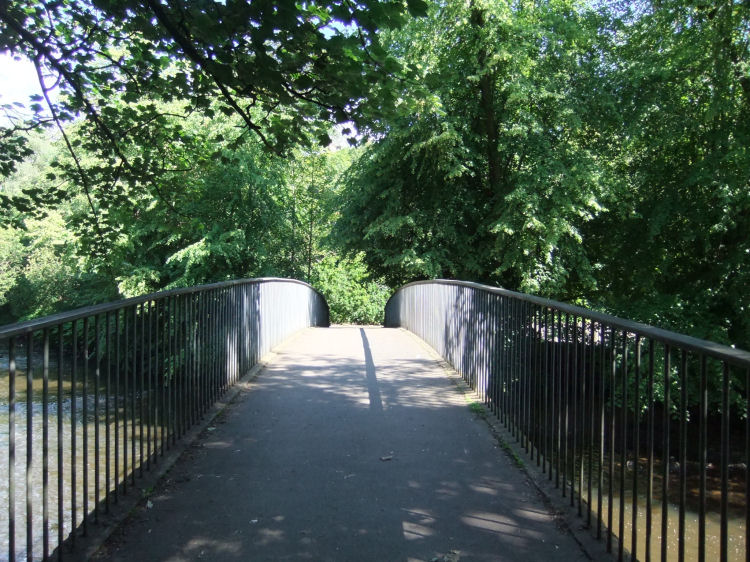
Garrioch Footbridge, Kelvin Walkway
The walkway passes by some very interesting and picturesque sites on this stretch of the river. It is a little known treasure of Glasgow’s west end, only a stone throw from the area’s hub at Byres Road on the other side of the Botanic Gardens.
The original stretch of the walkway, on the north bank facing the Botanic Gardens, has been in public ownership since 1895. The City had taken over the privately owned Gardens on 1st November 1891 and thereafter added another 8 acres on both sides of the river in 1895. Footbridges were provided to give visitors to the Gardens access to the narrow strip of parkland on the other side of the river.


One of the many suspects reached a dead end at this bridge which had an outsized stage padlock stopping him from crossing the Kelvin!


This neat little timber footbridge is one of the few modern features to be seen along the Kelvin Walkway.
The earlier bridge had been constructed to provide access to Kirklee Station, which had been created near the site of the "Three Tree Well" on the northern edge of Botanic Gardens.
![]()
 | |
|
|
|
|
|
|
|
| |
|
| |
|
|
|
|
|
|
|
|
All original artwork, photography and text © Gerald Blaikie
Unauthorised reproduction of any image on this website is not permitted.
